When this project started, my garage was crowded and hot, used mostly for storage, with a workbench and some makeshift shelves made from a lumber rack and a number of sturdy boards.
I’d show pictures, but I don’t find any in my collection that truly capture the total disaster area it was. And right off hand, when it’s 95°F and 100% humidity in late July, you really don’t care. It’s just a place where you drop things and get inside out of the summer heat.
But in the fall of 2015, I had an idea. The light fixture over the bar in my kitchen was put there by the contractor and was basically junk I had been looking for something better since I bought the house. Then Amazon had light fixture on sale for a ridiculously low price that had the shape I wanted, never mind that it was wired for a fluorescent bulb (which is why they were clearing them out). Three of them together and rewired for LED bulbs would put out a lot of light and really solve the lighting problems in my kitchen.
It took a while to figure out how to make it work, but eventually I concluded I needed three cover plates made of copper with a brown patina with some precisely drilled holes and one large 1″ hole that would need to be drilled to better tolerances than my drill press would ever be able to achieve.
I’ll put up a post on the light fixture eventually, but it was three simple 4x6x1/8″ copper plates that spawned what may someday turn into a little business.
How do I do this?
So how to make those copper plates? Well the first place to go is the Internet and start learning about CNC machines.
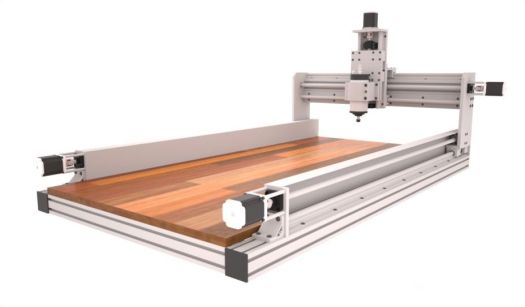
There are all sorts of small CNC machines out there that would have done the job. Nothing against them. They fit a particular niche and so long as you aren’t working with metals, there’s not much you can’t do with them.
CNC Router
But my projects are mostly going to be in metal. Yes, you can do aluminum on a CNC router, and I can easily see using one for big, flat jobs (which I have some of in my list of ideas). But they lack rigidity needed to plow through metals without burning up or breaking expensive cutting tools.
I started looking at CNC mills. Phew! Those things get expensive. The *smallest* mill from Haas would just barely fit in my garage and started at $32K. A Brother Speedio might fit, but it was more like $90K. Used examples could be had for closer to $20K, but then you’re dealing with a machine that’s over ten years old and who knows how much work it needs to make it work accurately.
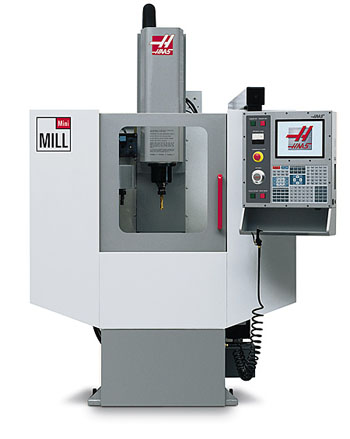
Photo: Haas
Haas Mini Mill
There are a number of “R45” Chinese Bench Mill conversions out there. These are small, relatively low horsepower machines with good, but limited rigidity. And they’re relatively cheap. you can start with a machine imported by Grizzly and convert it to run CNC using Mach 3 software running on a PC.

Photo: Grizzly Industrial
Grizzly G7055 Mill/Drill
And if you want to build a CNC machine as a hobby, that’s a great way to go. It may never make a product for you, however, so it’s worth thinking hard before you take this route. Not to dissuade anyone who wants to try it.
You won’t get much more than 1-2hp in a Chinese bench mill. You can put a bigger motor in it, but the accuracy will be limited. Cast iron seems heavy and strong, but when you’re trying to machine something to 0.0001″, these machines won’t get there with much more than 1.5HP.
If you want more horsepower, you need more cast iron. And that means the bigger, more expensive machines. (that was why the Haas Minimill was attractive – more cast iron, 15HP motor, but the cost was well beyond my means)
There’s another problem, of course. Electrical power in a residential home is pretty much single phase AC, 240V phase-to-phase (120V phase to neutral). Up to three horsepower you can get single phase motors pretty easily. And you can only pull down so much current from your service panel. Most residential homes are going to be 75-100A service, so when the air conditioning is running, and your shop compressor is on, and the mill spindle is going, you do not want the lights to go out as the main breaker on your house trips.
Intermittent loads are generally OK, so do a little math and figure out how much current you’re going to be pulling at any given moment. If it looks like you’re going over the available service, particularly as motors start up, you may need to upgrade your service (or buy another house or shop that has a bigger panel and possibly three phase power).
So when it comes right down to it, what you need is a machine that will work not just for the parts you want to make, but within the limitations of space, power, and cost. And that depends entirely upon what you want to do, where you’re putting your shop, and how much you have to invest in equipment.
There are a couple manufacturers who have decided to fill this niche. Tormach is one of them. They carry a line of three bench mills – the PCNC 1100 (1.5HP), PCNC 770 (1HP) and PCNC 440 (3/4HP). The 440 is the most basic, but can be had with a Power Drawbar (more on this later) and soon an Automatic Tool Changer (ATC). The 770 has a larger work envelope and more powerful spindle, but its primary benefit comes to users who want to move the machine to a basement shop since it can be relatively easily disassembled and carried down a set of stairs. The PCNC 1100 is their flagship machine and offers their largest work envelope and most powerful motor.


 Photos: Tormach
The fact is, the only difference between these machines in terms of their end product is how large their work envelope is and how fast they remove material.
If you can fit your project on the table in a 440, the 440 will do the job. My very first experience with a Tormach was on a 440 and while the machine is small it works remarkably well. It even has some advantages on the 1100 because of its 10K RPM max spindle speed for things like engraving. (The 770 also has a 10K spindle) The 1100 is limited to 5100 RPM (there is an optional high speed spindle).
The real advantage of the Tormach product line is their control software, PathPilot. Mach 3 works, but it hasn’t been improved upon in a while and is hosted in MS Windows. PathPilot is built on top of LinuxCNC which runs on a real time Linux kernel and so does not run into problems with operating system calls interfering with driving the stepper motors on the table and the Z-axis.
 Photo: Tormach
Pathpilot is easy to use and can be navigated with a touch screen monitor. It is network aware so with an inexpensive USB wifi dongle you can put the mill on your home network and move data to it as if it were any other networked drive – something that will be of more importance when you want to transfer your CAM programs to it.
The user interface is about as intuitive as you can ask for and works well with a touchscreen display, potentially eliminating the need for a mouse.
This isn’t an ad for Tormach, though it probably looks like one. It’s not without reason. Tormach is growing rapidly because they make a good product and sell it at an attractive price. Is it the best machine on the market? That’s up to the person buying the machine. For my particular application it should work well for quite a while.
One thing to keep in mind. Who you are is probably as important as what you want to do. I am an electrical engineer, not a machinist. This means practically that I am learning everything from the ground up. Bits and electrons I know. End mills and fly cutters are a new concept. My purpose is to teach myself a new skill while pursuing some personal projects and maybe build a business around it.
Make sure you are working around what you like doing, because if you don’t, you’re buying an awfully expensive paperweight.
Selecting a Mill
For the moment, let’s just talk about volume and cost. You have only so much space available in your shop and you have (presumably) a limited budget.
Sticking with Tormach, it’s really a more a question of how much you can afford and how much space you have to work in. The bare 440 mill will set you back around $5K, and fits in about the same space as a woodworking radial arm saw. (you can get the fully tricked out mill with stand, enclosure and some basic HSS tools for about $10K)
The 770 costs about $7K for the bare machine, and with the full stand and enclosure is about 50% larger than the 440.
The 1100 bare mill is a little over $8K and has a 42×80″ footprint when you add the stand and coolant tub.
Another thing to keep in mind is that you need space to get around the mill – make it wide enough for you to slither behind it to maintain and modify the machine. This is easy with the 440 – you could mount that machine on casters if you wanted to.
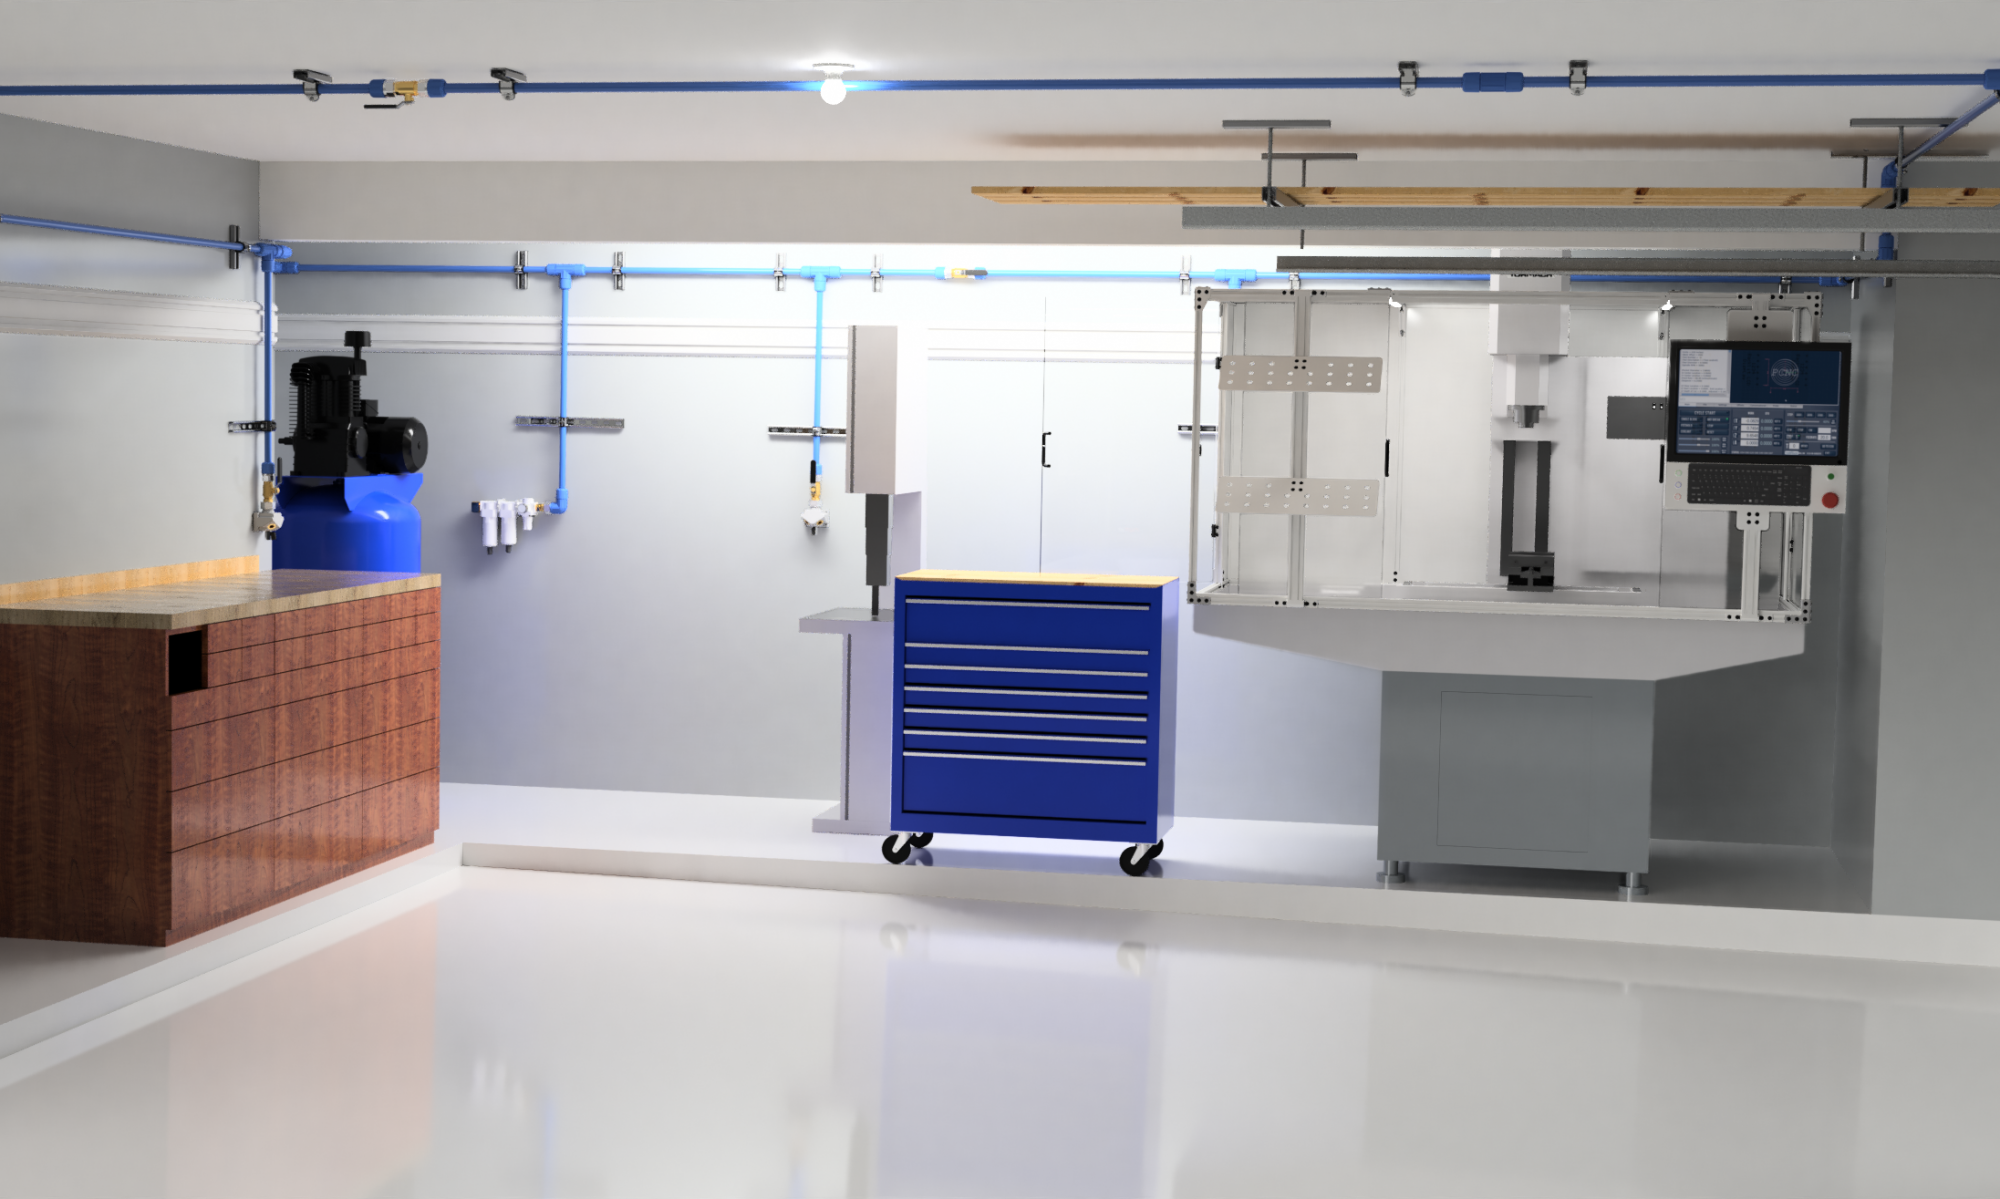
I went with the 1100 because I planned from the outset to make the room for it, and wanted to be able to maximize what I could make with the machine, though I was sorely tempted by the 440’s compact size and relatively low cost.
So with that decision made, the next problem was “where does it go?” in my crowded garage.
Next time… Modeling the garage
